第43章:Decorator ①:包んで機能を足す🎁✨
ねらい
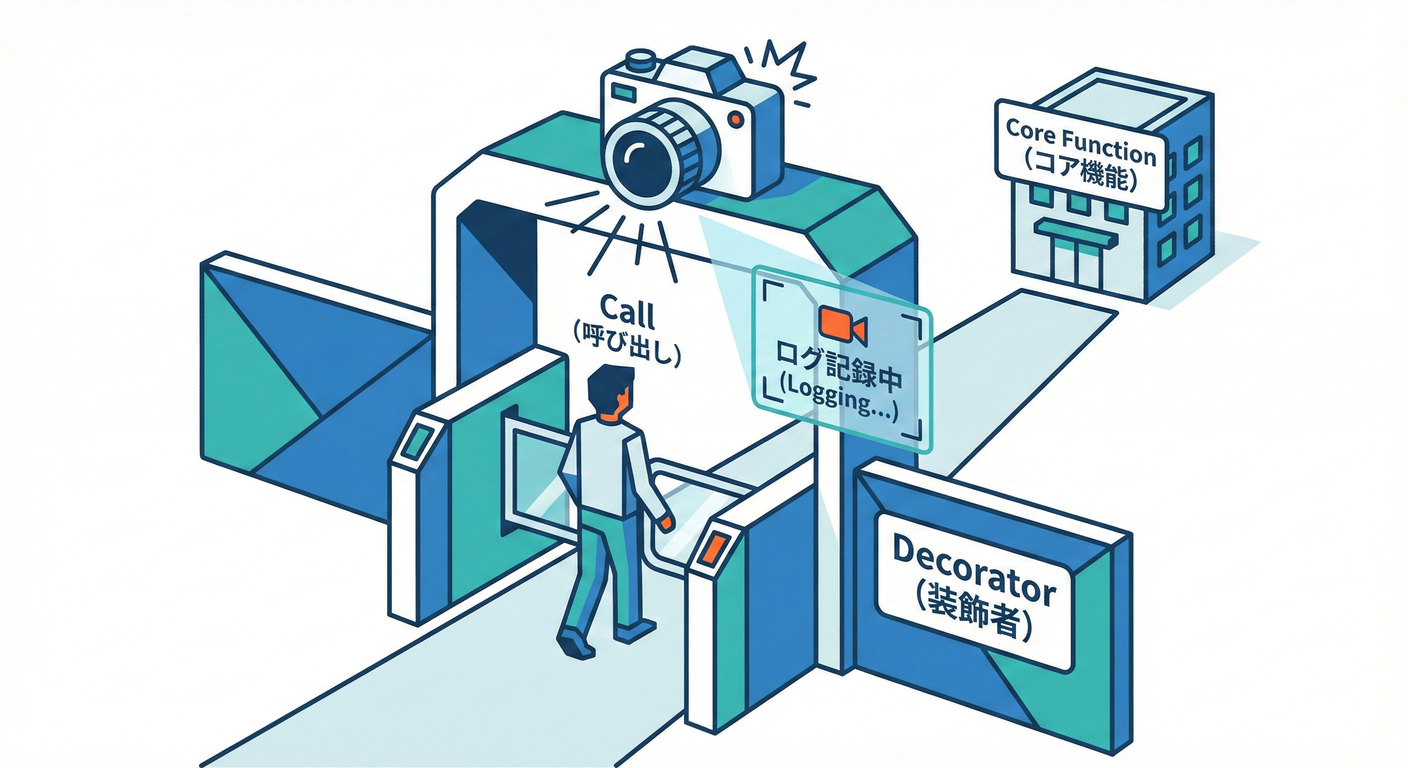
Decorator(デコレータ)は、既存の処理(本体)を壊さずに、あとから「機能を上乗せ」していくための考え方だよ〜😊✨ ポイントは 継承じゃなくて“包む(wrap)” こと!
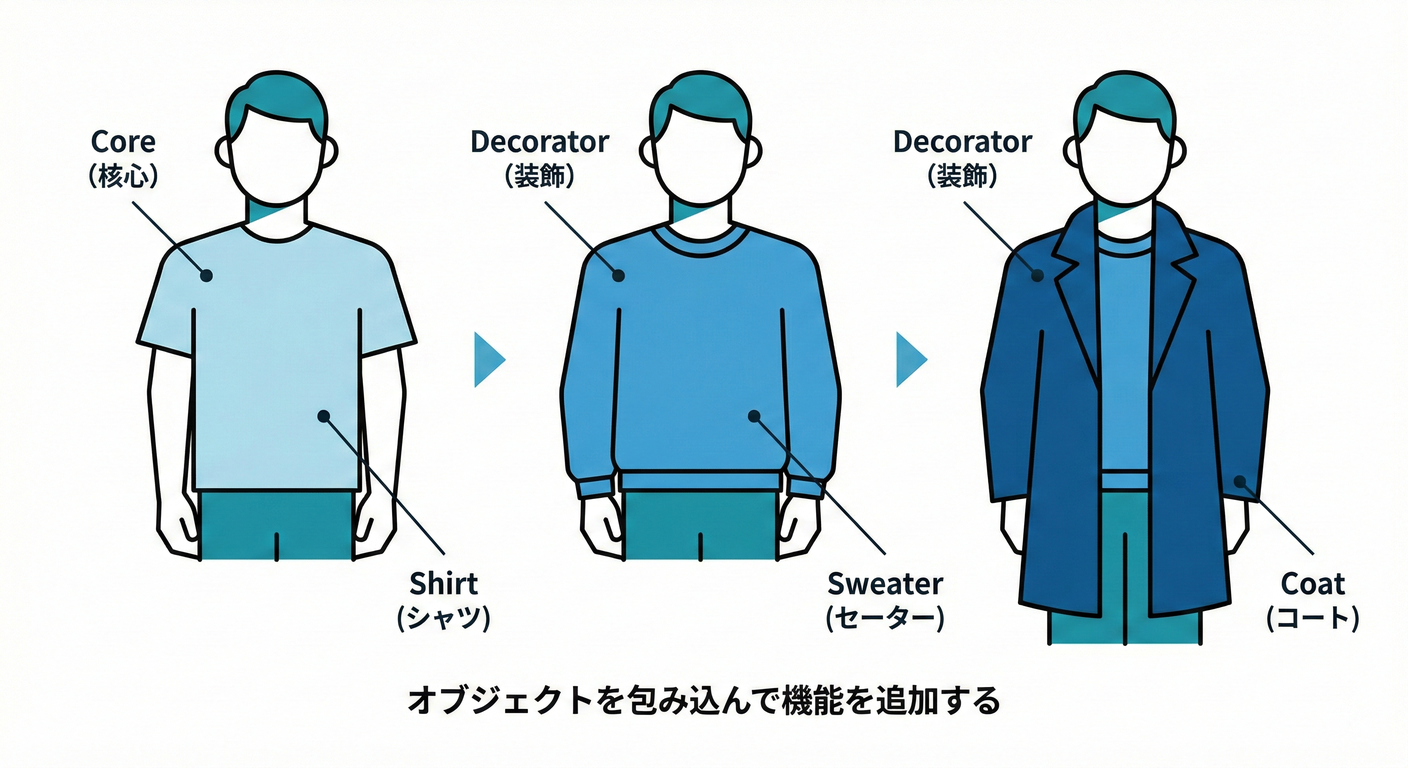
.NETだと Stream 周りが超わかりやすい例で、BufferedStream(バッファ)や GZipStream(圧縮)みたいに、別のStreamを包んで機能を足すのが定番だよ💧🧵 (hanachiru-blog.com)
到達目標
この章が終わったら、次ができるようになろう🧡
- Decoratorが解決する「困りごと」を自分の言葉で言える🗣️✨
- 「Decoratorっぽい場面」かどうか見分けられる👀🎯
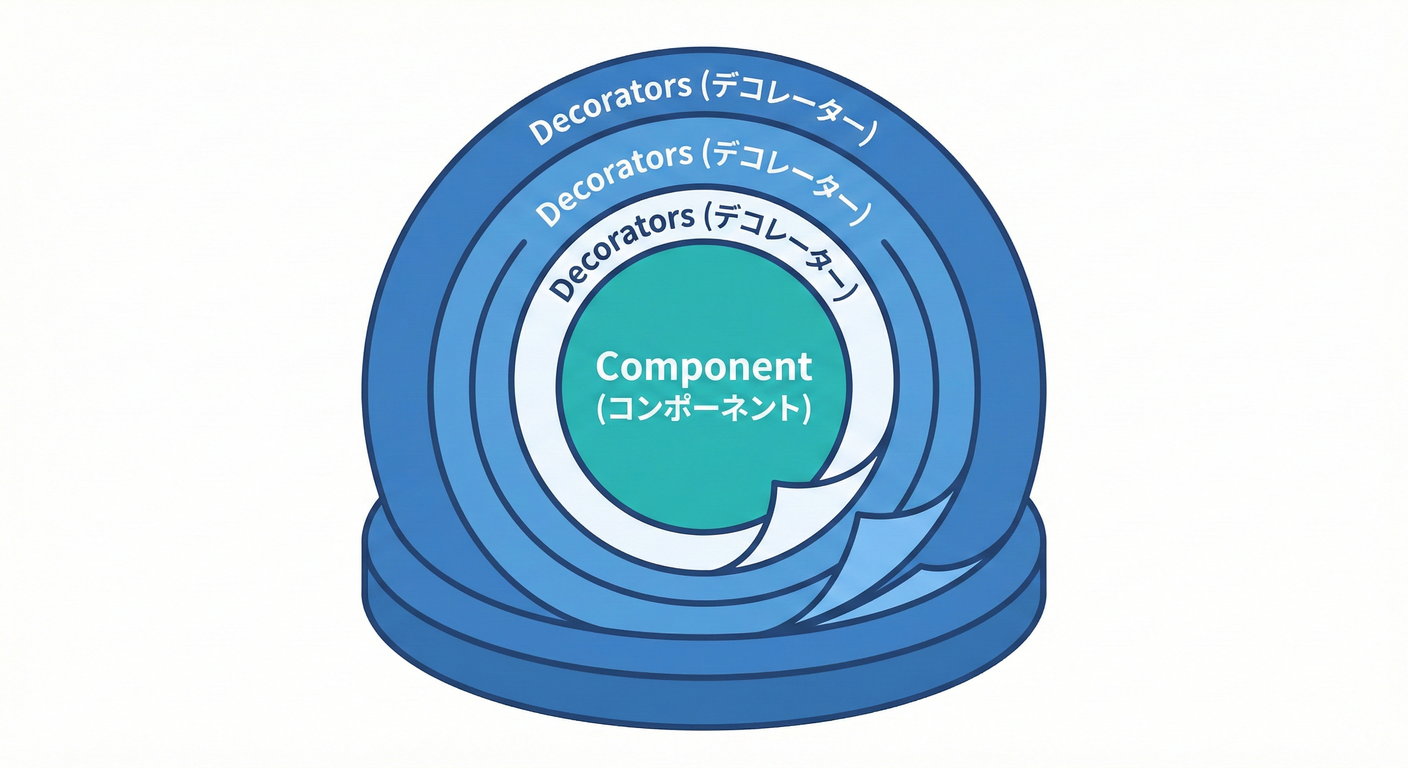
- “同じインターフェースのまま包む” っていう構造を作れる🎁
- 順番・Dispose・例外みたいな落とし穴に先回りできる⚠️🧯
手順
1) まず「困りごと」を1行で言う📝
Decoratorがハマる症状はこれ👇
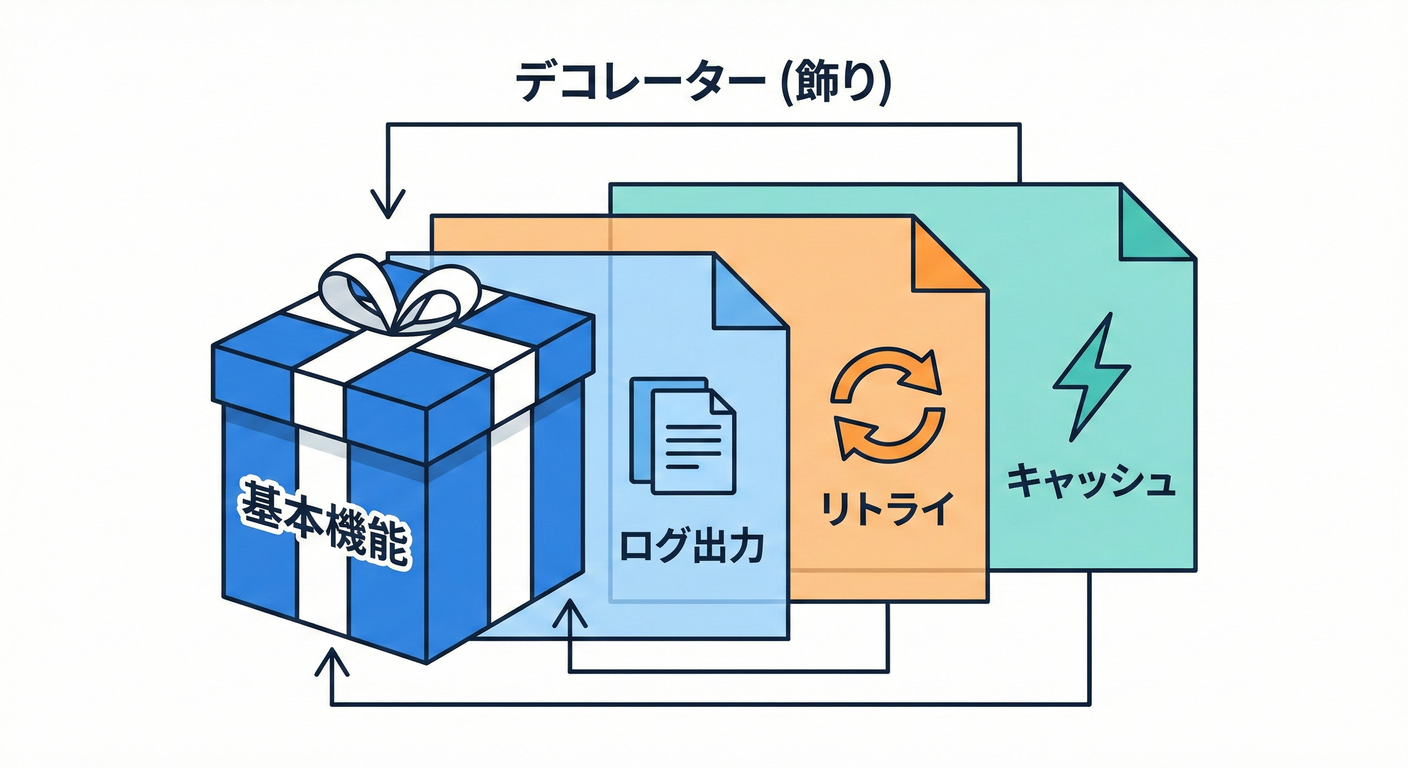
- もとの処理は同じなのに、ログ・計測・リトライ・圧縮みたいな“横から足す機能”が増える📈🧩
ifや「オプション引数の増殖」で呼び出し側がぐちゃぐちゃになる😵💫- 組み合わせ(ログあり×圧縮あり×暗号化あり…)が増えて爆発する💥
2) 「本体(Component)」の契約を決める🤝✨
Decoratorは 本体と同じ契約(interface)を守るのが大事💡
例:通知を送る契約を INotificationSender にする、みたいな感じ📣
ここで意識するのは👇
- 引数・戻り値・例外・
CancellationTokenを “契約” として揃える🧾✅ - Decoratorが勝手に契約を変えない(返す型変えたり、例外握りつぶしたりしない)🙅♀️
3) Decoratorの“骨格”を作る🦴🎁
Decoratorの形はいつもシンプル!
- 自分も
INotificationSenderを実装する
- 中に
INotificationSender innerを持つ - 基本は innerに委譲して、その前後に処理を足す ✨
4) 「足したい機能」ごとに1つずつ分ける🍰➡️🍰🍰
Decoratorは 1クラス=1つの“付け足し” が読みやすいよ😊 (ログ+計測を1クラスにまとめると、後で外したい時に困りがち💦)
5) 組み合わせは“順番”が命🧩🔁
包む順番で意味が変わることがあるよ⚠️
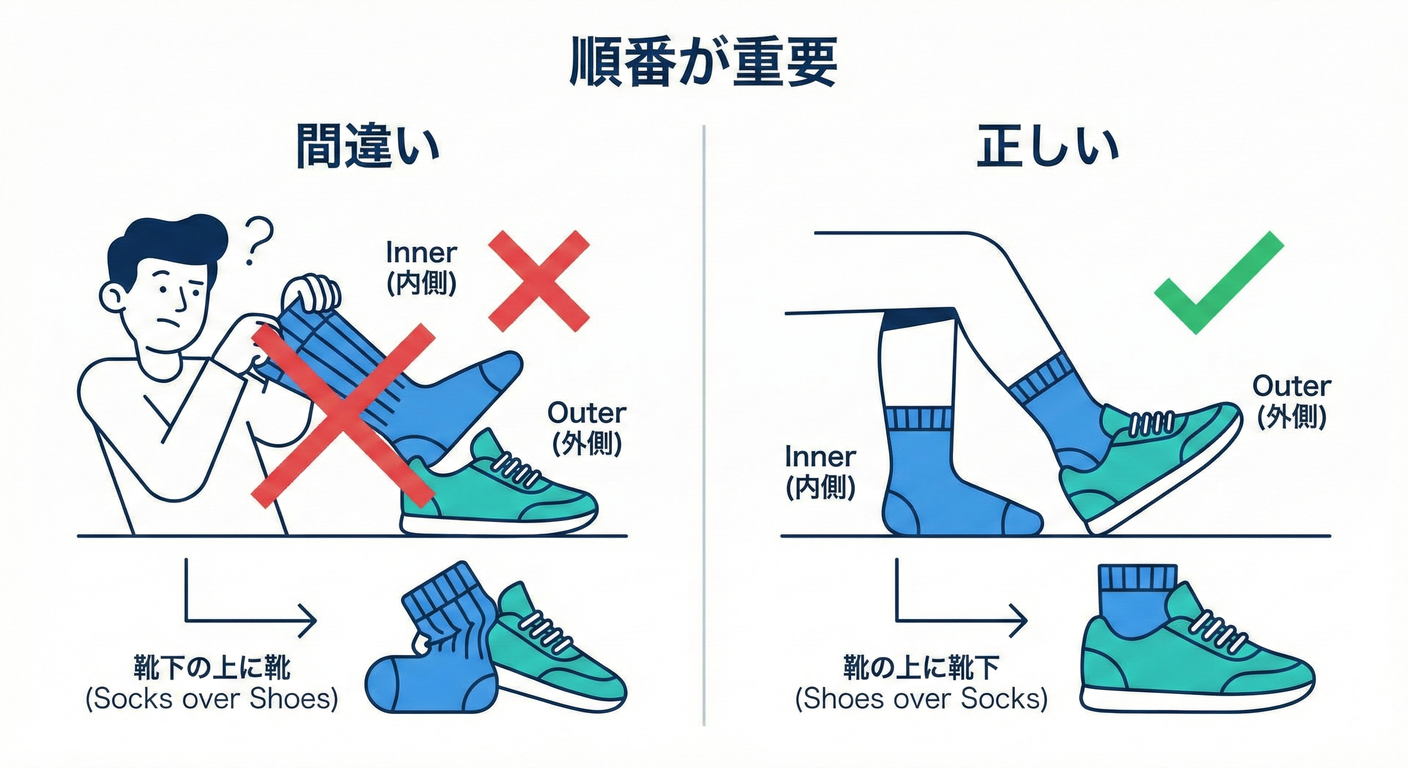
Streamだと 圧縮→暗号化 と 暗号化→圧縮 は全然ちがう(暗号化するとランダムっぽくなるから圧縮しにくい、など)🗜️🔐- ログとリトライも、どっちを外側に置くかでログ量が変わる📝🔁
6) .NETの超定番で感覚を掴む(Stream)💧✨
BufferedStream は「別のStreamにバッファ層を足す」ものだよ🧵 (hanachiru-blog.com)
GZipStream は「別のStreamを包んで圧縮/解凍するStream」だよ🗜️ (Microsoft Learn)
さらに CryptoStream みたいに「暗号化を足す」タイプもあるよ🔐 (Microsoft Learn)
7) AI補助を使うなら“骨格だけ”作らせる🤖✍️
AIに頼むときは、これだけ先に書いちゃうと事故りにくいよ👇
- 「同じインターフェースのまま inner に委譲すること」
- 「契約(例外/戻り値)を変えないこと」
- 「汎用フレームワーク化しない(今回のドメインだけでOK)」
落とし穴
Decoratorは便利だけど、ここでつまずきやすいよ〜⚠️💦
-
順番で挙動が変わる 「どれを外側にする?」を意識しないと、あとで混乱する😵💫🔁
-
Dispose(資源管理)がズレる たとえば
GZipStreamは、Dispose時に下のストリームも閉じることがあるよ。 必要ならleaveOpenで「下は閉じない」を指定できる(公式の引数説明にあるよ)🧯 (Microsoft Learn) -
本体が見えなくなる(包みすぎ問題) Decoratorが5枚くらい重なると「いま何が起きてるの?」ってなる😂 👉 対策:“目的が説明できる分だけ” にする、外側で組み立てを見える化する👀✨
-
Decoratorが契約を変えちゃう 例外を握りつぶす、勝手にリトライしてタイムアウト無視する…とかは危険😇 👉 “本体と同じ契約”を守るのがルール🧾✅
演習
演習1:Streamを“重ねて”Decorator感を体に入れる💧🧩(10〜20分)
FileStreamに対してBufferedStreamを噛ませる- さらに
GZipStreamを噛ませて、テキストを書き込む - 「どれを
usingで包んでるか」を見て、“包む”を体感してね😊✨ (BufferedStreamが別のStreamにバッファ層を足す、って説明は公式にもあるよ) (hanachiru-blog.com)
演習2:業務ミニ例でDecoratorを作る🎁📝(20〜30分)
下のコードは「通知送信」にログと計測を足す例だよ📣✨
ログは .NET の ILogger を使うのが定番(拡張ロギングの仕組み)📝 (Microsoft Learn)
using System.Diagnostics;
using Microsoft.Extensions.Logging;
using Microsoft.Extensions.Logging.Abstractions;

public sealed record Notification(string To, string Subject, string Body);

public interface INotificationSender
{
    Task SendAsync(Notification notification, CancellationToken ct = default);
}

// 本体(ConcreteComponent)
public sealed class EmailNotificationSender : INotificationSender
{
    public Task SendAsync(Notification notification, CancellationToken ct = default)
    {
        // 本物の送信は別章でOK。ここでは「送れたことにする」だけ🙂
        return Task.CompletedTask;
    }
}

// Decorator(ログを足す)


public sealed class LoggingNotificationSender : INotificationSender
{
    private readonly INotificationSender _inner;
    private readonly ILogger<LoggingNotificationSender> _logger;

    public LoggingNotificationSender(INotificationSender inner, ILogger<LoggingNotificationSender> logger)
    {
        _inner = inner ?? throw new ArgumentNullException(nameof(inner));
        _logger = logger ?? throw new ArgumentNullException(nameof(logger));
    }

    public async Task SendAsync(Notification notification, CancellationToken ct = default)
    {
        _logger.LogInformation("Sending to {To} 📣", notification.To);
        await _inner.SendAsync(notification, ct).ConfigureAwait(false);
        _logger.LogInformation("Sent! ✅");
    }
}

// Decorator(計測を足す)
public sealed class TimingNotificationSender : INotificationSender
{
    private readonly INotificationSender _inner;
    private readonly ILogger<TimingNotificationSender> _logger;

    public TimingNotificationSender(INotificationSender inner, ILogger<TimingNotificationSender> logger)
    {
        _inner = inner ?? throw new ArgumentNullException(nameof(inner));
        _logger = logger ?? throw new ArgumentNullException(nameof(logger));
    }

    public async Task SendAsync(Notification notification, CancellationToken ct = default)
    {
        var sw = Stopwatch.StartNew();
        try
        {
            await _inner.SendAsync(notification, ct).ConfigureAwait(false);
        }
        finally
        {
            sw.Stop();
            _logger.LogInformation("SendAsync took {ElapsedMs}ms ⏱️", sw.ElapsedMilliseconds);
        }
    }
}

// 使い方(組み立て)
public static class Demo
{
    public static async Task RunAsync()
    {
        var baseSender = new EmailNotificationSender();

        // ロガーはとりあえず NullLogger でOK(出力しない)🙂
        var logLogger = NullLogger<LoggingNotificationSender>.Instance;
        var timeLogger = NullLogger<TimingNotificationSender>.Instance;

        INotificationSender sender =
            new TimingNotificationSender(
                new LoggingNotificationSender(baseSender, logLogger),
                timeLogger);

        await sender.SendAsync(new Notification("a@example.com", "Hi", "Hello!"));
    }
}
演習3:テストで「ちゃんと委譲してる?」を確認🧪✅(10〜20分)
Decoratorは「中身を1回呼んでる」ことが大事だよね?それをテストで固定するよ〜✨
using Microsoft.VisualStudio.TestTools.UnitTesting;
using Microsoft.Extensions.Logging.Abstractions;

[TestClass]
public sealed class DecoratorTests
{
    private sealed class SpySender : INotificationSender
    {
        public int CallCount { get; private set; }

        public Task SendAsync(Notification notification, CancellationToken ct = default)
        {
            CallCount++;
            return Task.CompletedTask;
        }
    }

    [TestMethod]
    public async Task Logging_decorator_calls_inner_once()
    {
        var spy = new SpySender();
        var logger = NullLogger<LoggingNotificationSender>.Instance;

        INotificationSender sut = new LoggingNotificationSender(spy, logger);

        await sut.SendAsync(new Notification("x", "s", "b"));

        Assert.AreEqual(1, spy.CallCount);
    }
}
チェック
最後にこれが言えたらOKだよ🎉✅
- Decoratorは「同じ契約のまま包んで、前後に機能を足す」🧩🎁
- “横から足す機能”が増えてきたらDecorator候補👀✨
- 順番が大事なことがある(Streamやログ/リトライ)🔁⚠️
- Dispose/leaveOpen を意識できる(
GZipStreamのleaveOpenみたいに)🧯 (Microsoft Learn) - テストで「Decoratorがinnerをちゃんと呼ぶ」ことを固定できる🧪✅